
Cinematic Colour Grading Workflow in DaVinci Resolve: Jalandhar Guide
Film & Editing · Preeti Jalandhar · 2 November 2026
Explore the cinematic colour grading workflow in DaVinci Resolve, learn colour correction, node-based editing and professional grading techniques for better videos.
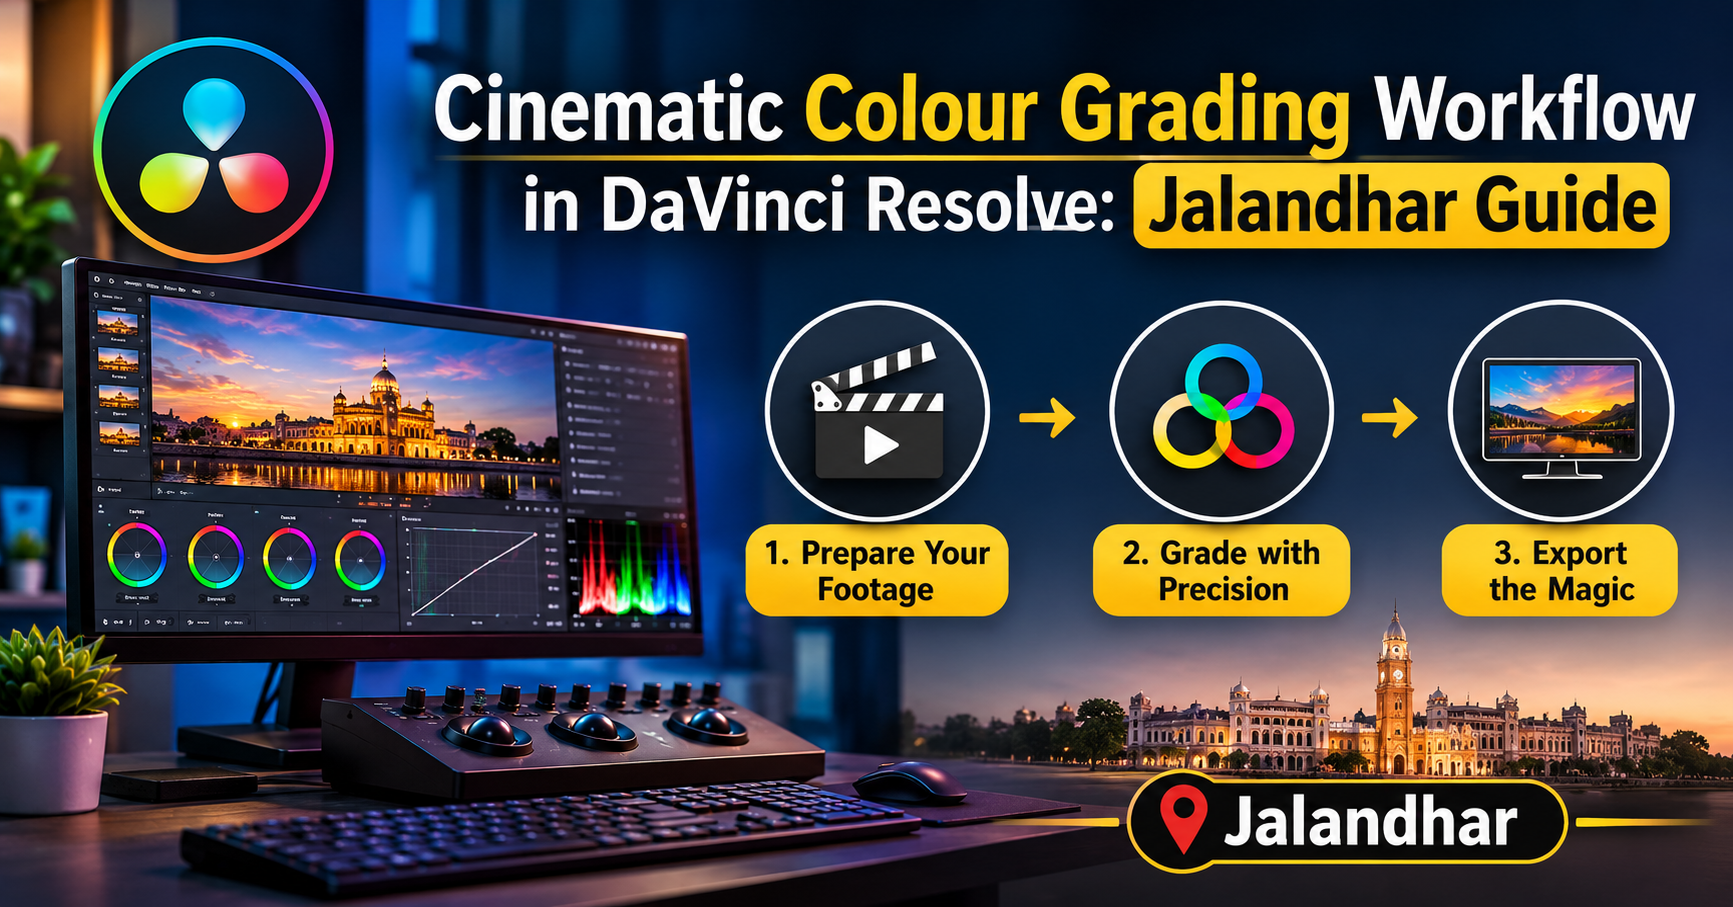
DaVinci Resolve is widely used in professional video production because it combines video editing, colour correction, visual effects, motion graphics, and audio post-production in one application. Its dedicated Colour page provides a range of tools that allow editors to make detailed adjustments to video footage.
For learners interested in a Cinematic Colour Grading Course in Jalandhar, understanding DaVinci Resolve can help develop technical knowledge and creative confidence.
Some important features of DaVinci Resolve include:
Advanced colour wheels for adjusting shadows, midtones, and highlights.
Node-based colour grading for organising different adjustments.
Curves for controlling colour channels and contrast.
Qualifier tools for selecting specific colours.
Power Windows for making local adjustments.
Tracking tools for following moving objects.
Scopes for monitoring colour and exposure.
LUT support for applying creative colour transformations.
HDR grading tools for compatible video workflows.
These features make DaVinci Resolve useful for beginners who want to understand colour grading as well as experienced editors working on complex video projects.
Step-by-Step Cinematic Colour Grading Workflow in DaVinci Resolve
A proper grading workflow helps editors maintain consistency and avoid unnecessary adjustments. Instead of applying random effects, it is important to follow a structured process.
1. Import and Organise Your Video Footage
The first step is importing video files into DaVinci Resolve and organising them properly. Before starting colour grading, editors should understand the source footage, camera settings, resolution, and colour profile.
Create separate folders or bins for different scenes, audio files, and video clips. This makes the editing process easier, particularly when working on longer projects.
Important steps include:
Open DaVinci Resolve and create a new project.
Import video clips into the Media Pool.
Organise footage according to scenes or locations.
Check the frame rate and resolution.
Review the original footage before editing.
Arrange clips on the timeline.
Proper organisation creates a smoother workflow and makes it easier to manage multiple video sequences.
2. Understand Colour Management Settings
Colour management is an important part of professional grading. Different cameras record footage using different colour spaces and gamma curves. If these settings are not handled correctly, colours may appear too saturated, washed out, or inconsistent.
DaVinci Resolve provides colour management options that help editors manage different camera formats and prepare footage for the intended output.
Some important concepts include:
Rec.709 colour space.
Log footage.
Gamma curves.
Colour space transformation.
Input and output colour settings.
Camera-specific colour profiles.
Understanding these settings helps learners develop a reliable DaVinci Resolve Colour Grading Workflow.
3. Perform Primary Colour Correction
Before creating a cinematic look, editors should correct basic exposure and colour inconsistencies. This stage is known as primary colour correction.
The objective is to make the footage look balanced and natural.
Important adjustments include:
Exposure correction.
White balance adjustment.
Contrast control.
Highlight recovery.
Shadow adjustment.
Saturation management.
Temperature and tint correction.
For example, footage recorded under indoor lighting may have an unwanted yellow colour cast. Adjusting white balance can help restore more natural colours.
Learning Colour Correction in DaVinci Resolve is essential for achieving consistent results across different scenes.
4. Use Colour Wheels for Better Control
Colour wheels are among the most important tools available on the Colour page in DaVinci Resolve. They allow editors to control different tonal areas independently.
The main colour wheel adjustments include:
Lift: Controls darker areas and shadows.
Gamma: Adjusts midtones.
Gain: Controls highlights.
Offset: Adjusts the overall image.
By making small and controlled adjustments, editors can improve contrast and create a balanced visual appearance.
For example, slightly cooling the shadows while maintaining warm highlights can create a cinematic appearance. However, these adjustments should depend on the lighting, subject, and creative direction of the video.
5. Understand the Node-Based Grading Workflow
One of the most useful features of DaVinci Resolve is its node-based colour grading system. Nodes allow editors to separate different adjustments instead of applying everything through a single correction layer.
A basic grading node structure may include:
Node 1: Initial exposure correction.
Node 2: White balance adjustments.
Node 3: Contrast and saturation.
Node 4: Creative colour grading.
Node 5: Skin tone adjustments.
Node 6: Final image enhancement.
This structure makes the workflow organised and easier to modify. If one adjustment needs to be changed, editors can work on the relevant node without affecting the entire grading process.
Understanding DaVinci Resolve Nodes is an important skill for anyone interested in professional colour grading.
6. Create Cinematic Colour Looks
After correcting the footage, editors can begin applying creative grading techniques. This stage focuses on developing the visual style of the video.
Some popular cinematic colour grading styles include:
Teal and Orange Look: This style uses cooler teal tones in shadows and warmer orange tones in highlights or skin areas. It is commonly used in commercial and cinematic productions.
Warm Cinematic Look: Warm highlights and controlled shadows create a comfortable, nostalgic, or romantic atmosphere.
Moody Cinematic Look: Darker tones, controlled contrast, and cooler colours can create a dramatic visual appearance.
Vintage Film Look: Softer contrast, subtle colour shifts, and reduced saturation can create a film-inspired appearance.
Natural Cinematic Look: This approach maintains realistic skin tones and balanced colours while enhancing the overall visual quality.
Practising different Cinematic Colour Grading Techniques helps editors understand how colour choices influence storytelling.
7. Work with Curves and Qualifiers
Curves provide additional control over brightness and individual colour channels. They allow editors to make precise adjustments to different tonal ranges.
For example, an S-curve can be used to increase contrast by slightly darkening shadows and brightening highlights.
Qualifiers allow editors to select particular colours and adjust them independently. This is useful when correcting skin tones, enhancing a particular object, or reducing unwanted colour variations.
Important tools include:
Custom curves.
Hue versus Hue.
Hue versus Saturation.
Hue versus Luminance.
Qualifier selection.
HSL adjustments.
These tools help create more detailed and controlled grading results.
8. Maintain Natural Skin Tones
Skin tone accuracy is important in professional video production. Excessive colour adjustments can make faces look unnatural or overly saturated.
Editors should carefully monitor skin tones while adjusting the overall colour style.
Useful techniques include:
Selecting skin tones with qualifiers.
Monitoring colour values using vectorscopes.
Avoiding excessive orange or red saturation.
Maintaining natural brightness.
Balancing skin tones across different scenes.
Natural skin tones help maintain a realistic appearance even when a creative cinematic look is applied.
9. Use Power Windows and Tracking
Power Windows allow editors to apply adjustments to specific areas of a frame rather than changing the entire image.
For example, an editor can brighten a person's face, darken the background, or highlight a particular object.
Tracking tools can follow moving subjects and maintain the selected adjustment as the subject moves through the frame.
Common applications include:
Highlighting a subject.
Creating background separation.
Adjusting facial brightness.
Controlling unwanted light areas.
Enhancing selected objects.
These techniques provide greater creative control and can make a video look more polished.
10. Review the Final Grade and Export Your Video
The final stage involves checking the complete video and ensuring that all scenes have a consistent visual appearance.
Before exporting, editors should review:
Exposure consistency.
Colour balance.
Skin tones.
Contrast and saturation.
Scene-to-scene matching.
Highlight and shadow details.
Final output resolution.
Export format and frame rate.
DaVinci Resolve provides different rendering options through its Deliver page. Editors can select suitable settings depending on whether the video is intended for social media, online platforms, or professional delivery.
A proper final review helps ensure that the exported video maintains the intended visual quality.
Common Cinematic Colour Grading Mistakes to Avoid
Beginners sometimes make unnecessary adjustments while trying to achieve a cinematic appearance. Understanding common mistakes can help improve the final output.
Avoid the following:
Increasing saturation excessively.
Making shadows too dark.
Overusing teal and orange effects.
Ignoring natural skin tones.
Applying random LUTs without adjustments.
Using inconsistent colour settings across scenes.
Ignoring exposure and white balance.
Making unnecessary contrast adjustments.
Exporting without reviewing the final video.
A professional-looking grade usually comes from balanced adjustments rather than excessive effects.
Who Should Learn DaVinci Resolve Colour Grading?
A DaVinci Resolve Training Course in Jalandhar can be useful for individuals interested in video production and creative media.
It may be suitable for:
Students interested in filmmaking and multimedia.
Beginners exploring professional video editing.
Aspiring colour grading artists.
Photographers interested in cinematic videos.
Wedding cinematographers and video editors.
YouTube creators and vloggers.
Social media content creators.
Digital marketing professionals.
Freelancers interested in video post-production.
Even beginners can start with basic editing and colour correction before moving towards advanced grading techniques.
Career Opportunities After Learning DaVinci Resolve
Professional colour grading and video editing skills are useful across several industries, including filmmaking, advertising, entertainment, digital marketing, and online media.
After developing practical skills and building a strong portfolio, learners may explore career options such as:
Colour Grading Artist.
Professional Video Editor.
Film Editing Assistant.
Post-Production Assistant.
Wedding Video Editor.
Commercial Video Editor.
Social Media Video Editor.
Freelance Video Editing Professional.
Digital Content Creator.
Career opportunities depend on software knowledge, practical experience, creativity, project quality, and industry requirements.
Learning additional applications such as Adobe Premiere Pro and After Effects can also help expand your knowledge of video production and post-production.
Why Explore DaVinci Resolve Training at IAM Jalandhar?
Choosing the right learning environment is an important step when developing creative software skills. Learners should look for a training programme that explains software fundamentals and provides opportunities to practise different techniques.
IAM Jalandhar is an option for students interested in exploring creative design and digital media training.
Before enrolling in a DaVinci Resolve Course in Jalandhar, consider asking about:
DaVinci Resolve software coverage.
Colour correction and grading topics.
Practical video editing assignments.
Cinematic grading projects.
Trainer guidance and doubt support.
Course duration and batch timings.
Portfolio development opportunities.
Available software and training facilities.
A practical learning approach can help students understand how professional video editing workflows are structured.
Conclusion
Understanding a Cinematic Colour Grading Workflow in DaVinci Resolve can help aspiring video editors develop creative and technical skills required for modern video production. From organising footage and correcting exposure to working with colour wheels, nodes, curves, qualifiers, and cinematic looks, every stage contributes to the final visual quality.
For learners exploring DaVinci Resolve Training in Jalandhar, IAM offers an option to enquire about creative software training and practical learning opportunities. Before joining, review the curriculum, software coverage, project work, and training facilities to ensure they match your learning goals.
Start with basic colour correction, experiment with different cinematic styles, and practise on real video footage. With consistent learning, creative experimentation, and a well-developed portfolio, you can build valuable skills for video editing, filmmaking, and professional post-production.
- DaVinci Resolve
- Cinematic Colour Grading
- Colour Correction
- Video Editing
- Colour Grading Workflow
- Node-Based Colour Grading
- Video Post Production
- IAM Jalandhar