Cinematic Lighting and Camera Movement Techniques: Ludhiana Guide
Design, AI & Marketing · Jaspreet · 25 October 2026
Learn cinematic lighting and camera movement step by step. From three-point setups and soft vs hard light to dolly, tracking and handheld shots, this Ludhiana guide helps aspiring filmmakers create professional-looking scenes with a clear practice plan.
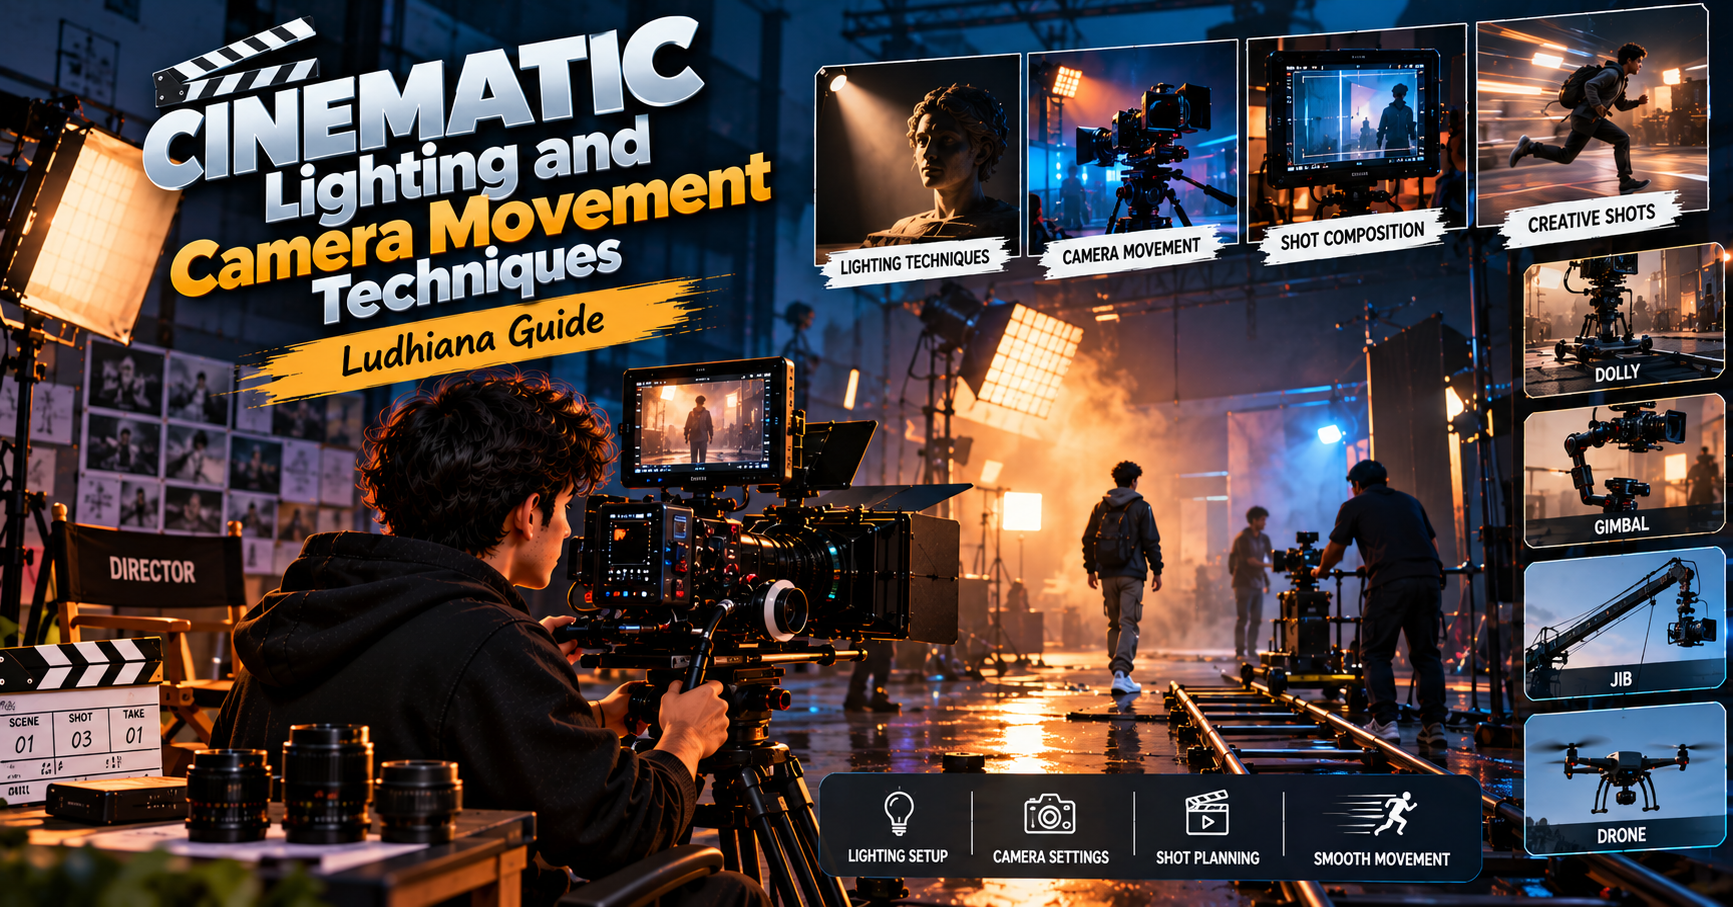
Cinematic Lighting and Camera Movement Techniques: Ludhiana Guide, Step by Step
Two things separate a video that looks like a phone recording from one that feels like cinema: how the scene is lit and how the camera moves. You don’t need a big budget to get either right. You need a method, some practice, and a clear understanding of why each choice works.
This guide is written for aspiring filmmakers, content creators and students in Ludhiana who want to build real on-set skills, one step at a time.
Why Lighting and Camera Movement Matter
Lighting shapes mood, directs the viewer’s eye and gives a flat image depth. Camera movement adds energy, emotion and perspective. Together they tell the audience how to feel before a single line of dialogue is spoken.
Ludhiana has a lot to offer visually: busy markets, textile and industrial zones, old-city lanes, wheat fields on the outskirts, and strong natural light for most of the year. Learning to use these surroundings well is half the craft.
Part 1: Cinematic Lighting, Step by Step
Step 1: Understand the Three-Point Lighting Setup
Almost all cinematic lighting builds on this foundation:
Key light: the main source, which defines the shape and direction of light on your subject.
Fill light: a softer source that reduces the harshness of shadows created by the key.
Back light (rim light): placed behind the subject to separate them from the background and add dimension.
Start by placing the key light at roughly 45 degrees to one side of the subject, slightly above eye level. Add fill from the opposite side at lower intensity, then add the back light. Adjust each until the image feels balanced.
Step 2: Learn Light Quality: Hard vs. Soft
Hard light creates sharp shadows and strong contrast, and suits tense or dramatic scenes. Soft light wraps around the subject and flatters faces, which suits romance, interviews and calm moments.
To soften light, move the source closer to the subject, or place a diffuser, a white curtain, or a bounce card between the light and the subject. To harden it, move the source farther away or use a smaller source.
Step 3: Control Contrast and Lighting Ratio
The ratio between your key and fill decides the mood. A low ratio (bright fill) gives a soft, even, upbeat look. A high ratio (minimal fill) gives deep shadows and a moody, dramatic look. Practise by changing only the fill intensity and watching how the same face changes emotionally.
Step 4: Use Colour Temperature Intentionally
Daylight sits around 5600K, while warm indoor bulbs sit near 3200K. Mixing them deliberately creates the classic cinematic contrast of warm interiors against cool exteriors. Mixing them accidentally creates a messy image. Set your white balance first, then decide where you want colour contrast.
Step 5: Shape Light with Flags, Diffusion and Practicals
Cinematic lighting is as much about removing light as adding it. Use black cloth or foam board (flags) to block spill. Use diffusion to soften. Use practicals, which are visible lamps, tube lights or lanterns inside the frame, to make a scene feel real and lived-in.
Step 6: Master Natural Light
Natural light is free and powerful. Shoot during the early morning and late afternoon “golden hours” when the sun is low and warm. At midday, move your subject into open shade or use a reflector to fill under-eye shadows. Windows make excellent soft key lights: position your subject at an angle to the window rather than facing it directly.
Part 2: Camera Movement Techniques, Step by Step
Step 1: Start with Motivated Movement
The golden rule: move the camera for a reason. A good move reveals information, follows action, builds tension or expresses emotion. If you can’t explain why the camera is moving, keep it still.
Step 2: Practise the Core Moves
Pan: rotating the camera horizontally from a fixed position, used to follow a subject or reveal a space.
Tilt: rotating vertically, perfect for revealing height or scale.
Dolly (push-in / pull-out): moving the camera toward or away from the subject. A slow push-in builds intensity; a pull-out reveals context or isolation.
Tracking shot: moving alongside a subject as they walk, which immerses the viewer in the scene.
Crane or jib shot: rising or descending to show scale or transition between moments.
Handheld: adds realism and urgency when controlled, and chaos when not.
Step 3: Build a Budget Dolly and Stabiliser Kit
You can practise professional moves without expensive gear. A skateboard or wheelchair works as a makeshift dolly on smooth floors. A gimbal or a simple shoulder rig steadies handheld footage. Walk with bent knees, roll heel to toe, and keep your elbows tucked in to reduce shake.
Step 4: Match Speed to Emotion
Slow movements feel contemplative, tense or romantic. Fast movements feel energetic, chaotic or urgent. Keep the speed consistent within a shot, with smooth acceleration and deceleration at the start and end, because abrupt starts look amateur.
Step 5: Combine Movement with Framing
A great move ends on a great composition. Plan where the shot begins and where it lands. Use the rule of thirds, leading lines and foreground elements such as doorways, pillars and market stalls to add depth as the camera travels.
Part 3: Combining Lighting and Movement
The real magic happens when the two work together. When the camera moves through a space, the lighting has to hold up from every angle you pass through. Plan your lighting so that:
Light sources are placed out of the camera’s path or hidden in frame (practicals, doorways, windows).
The subject stays well lit from the start to the end of the move.
Shadows and highlights evolve with the movement to reveal mood, such as a push-in that moves from shadow into light.
Try this exercise: shoot a slow dolly-in on a person sitting near a window. Start in the darker side of the room and let the camera glide toward their face as it enters the window light. Simple, cheap and very cinematic.
Part 4: Common Mistakes to Avoid
Lighting a scene flat from the front, which kills depth.
Mixing colour temperatures by accident.
Moving the camera without purpose.
Over-relying on shaky handheld footage.
Ignoring the background while perfecting the subject’s lighting.
Skipping a test shot before rolling on the real scene.
Practice Plan for Ludhiana Filmmakers
Week 1: Shoot one portrait using only window light, and one using only a single lamp with a bounce card.
Week 2: Recreate a three-point setup at home and film the same face with three different lighting ratios.
Week 3: Film one scene using each core camera move: pan, tilt, push-in, tracking.
Week 4: Combine everything in a 60-second short film with a clear beginning, middle and end.
Review your footage critically after each week. Ask what the light is saying and why the camera moved.
Take Your Skills Further
Self-practice builds the foundation, but hands-on guidance speeds everything up. Working with trained mentors, professional equipment and real production environments helps you build a portfolio faster and avoid costly beginner mistakes. If you’re serious about a career in film, look for a course in Ludhiana that offers practical shoots, lighting workshops and camera training, not just theory.
Final Thoughts
Cinematic lighting and camera movement are skills anyone can learn with patience and deliberate practice. Light with intention, move with purpose, and keep shooting. Every frame you shoot in Ludhiana’s streets, studios and open fields brings you closer to the look you’re chasing.
- cinematic lighting
- camera movement
- film production course in Ludhiana
- filmmaking Ludhiana
- three-point lighting
- cinematography
- dolly and tracking shots
- filmmaking for beginners